Jupyter Notebooks are a strong open-source device that enables customers to create and share paperwork that include stay code, equations, visualizations, and narrative textual content. They’re extensively utilized in knowledge science, machine studying, and scientific computing for interactive coding and knowledge evaluation. This tutorial will information you thru putting in Jupyter, utilizing fundamental options, and performing knowledge evaluation interactively.
1. Putting in Jupyter Pocket book
To begin utilizing Jupyter Notebooks, it is advisable set up it. You’ll be able to set up Jupyter through Anaconda (really helpful for newbies) or pip (for superior customers).
Utilizing Anaconda
Anaconda is a well-liked Python distribution that comes with Jupyter Pocket book pre-installed.
- Obtain and set up Anaconda
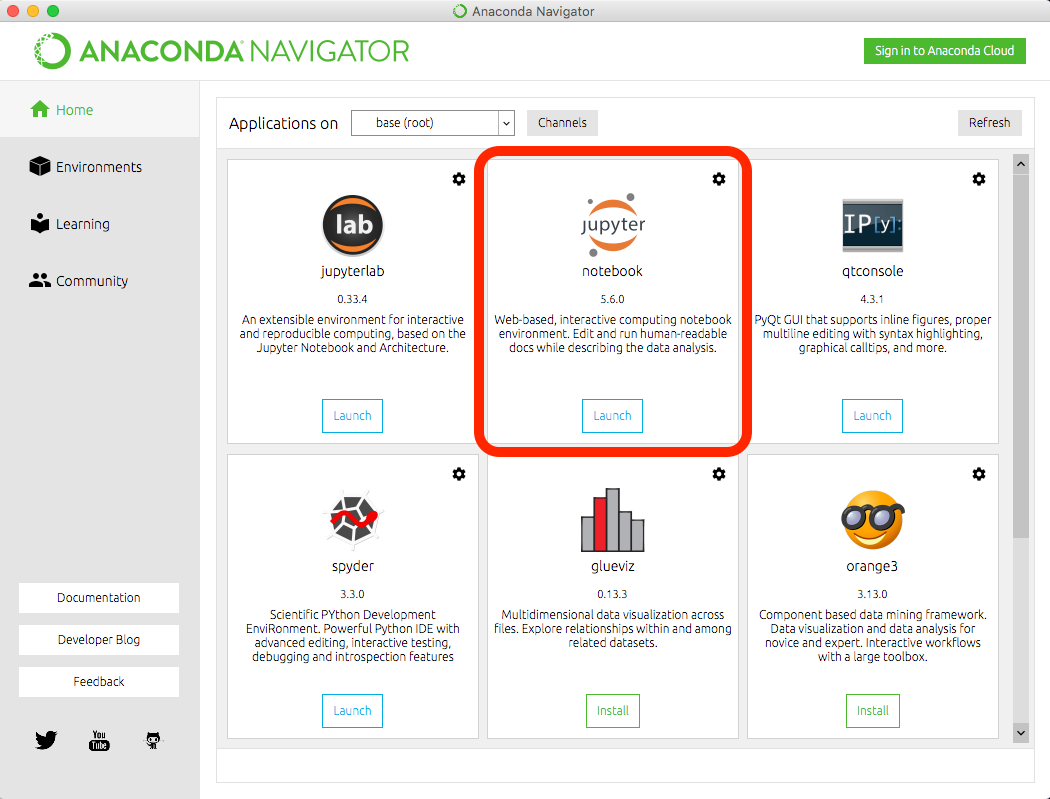
- Open Anaconda Navigator and launch Jupyter Pocket book
- It’s best to see a dashboard just like the one beneath:
Utilizing pip
If you have already got Python put in, you’ll be able to set up Jupyter Pocket book utilizing pip:

As soon as put in, launch Jupyter Pocket book with:

2. Navigating the Jupyter Interface
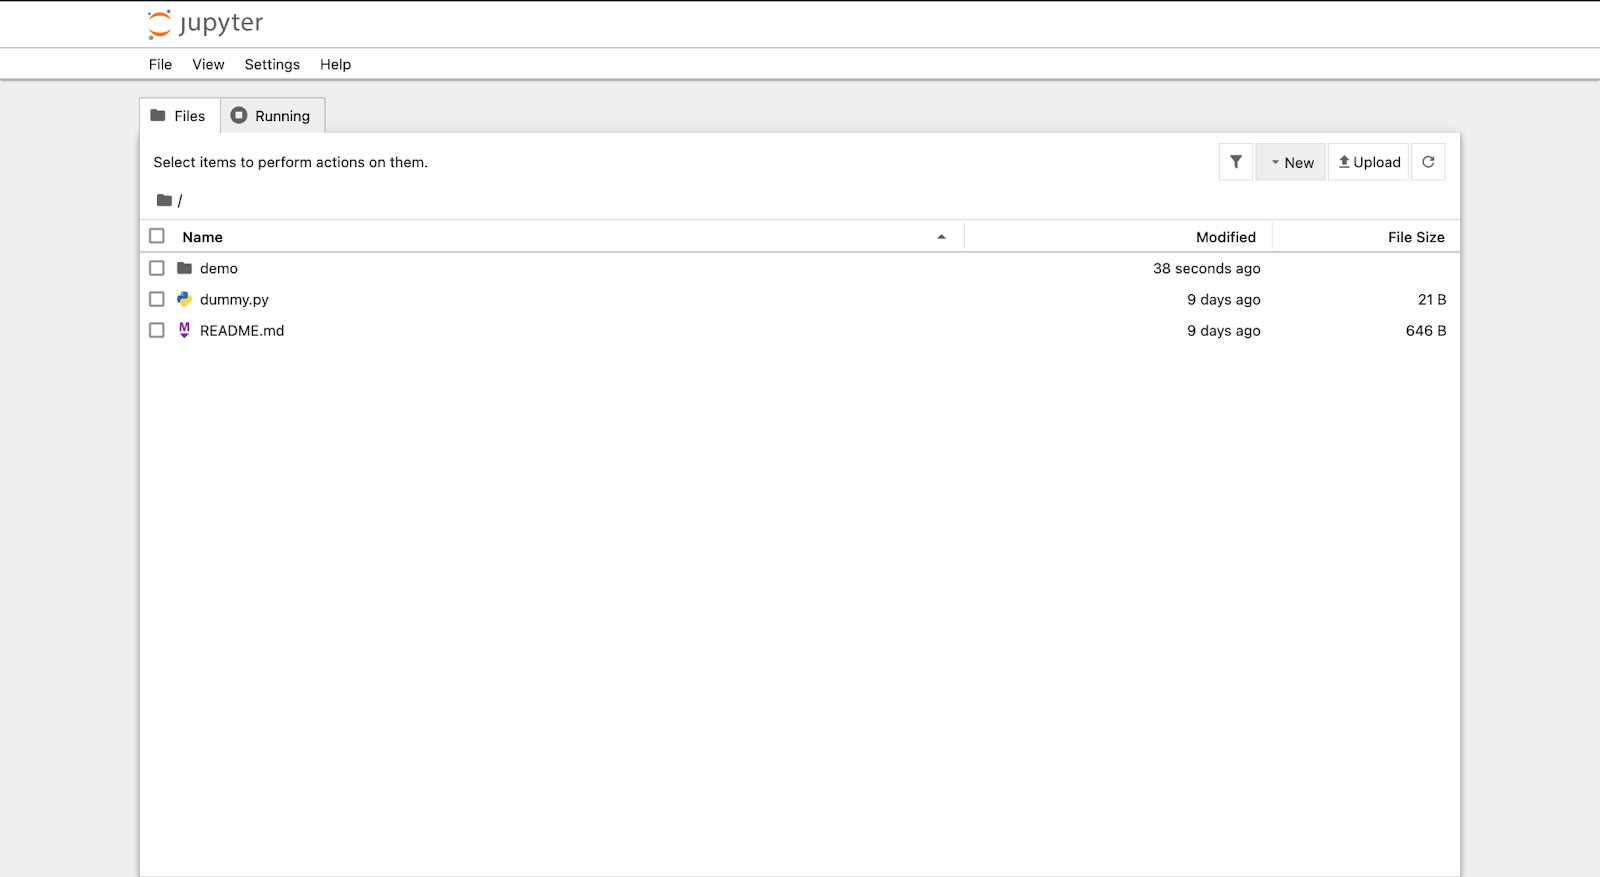
After launching Jupyter Pocket book, you’ll see the Jupyter dashboard. It exhibits the present listing’s recordsdata and means that you can create and open notebooks.
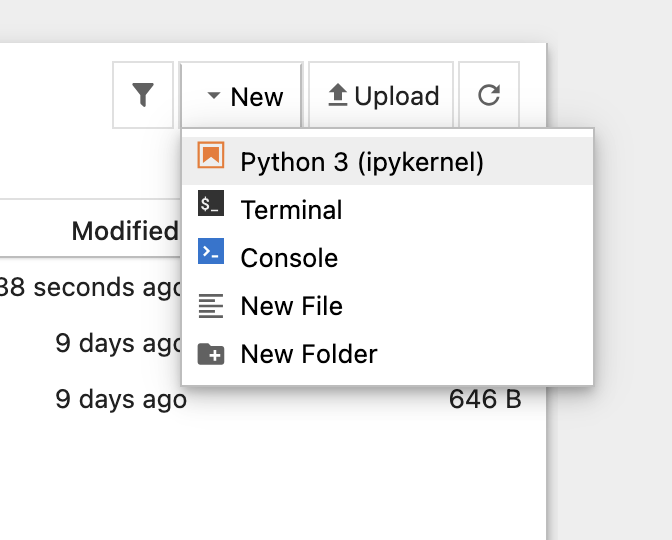
- Click on New > Python 3 to create a brand new pocket book.
- A brand new pocket book consists of cells that may execute code or include markdown for documentation.
3. Operating Code in Jupyter Pocket book
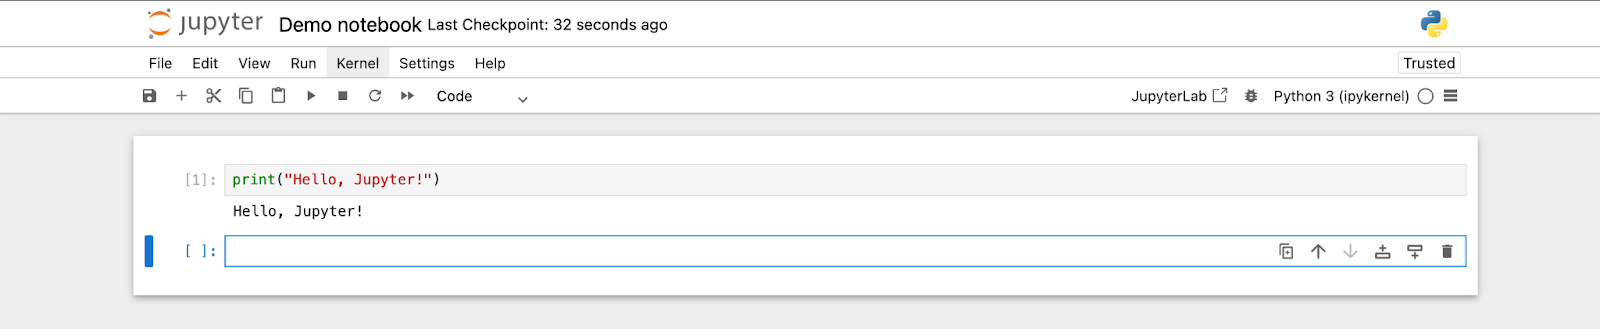
Every pocket book consists of cells that may maintain code or markdown textual content.
Executing Python Code
To run a Python command inside a cell, sort the code and press Shift + Enter.
Utilizing Markdown Cells
You’ll be able to swap a cell to Markdown (for formatted textual content) by choosing the cell and urgent Esc + M. Strive including headings, bullet factors, and even LaTeX equations:


4. Importing and Visualizing Information
Jupyter is often used for knowledge evaluation. Let’s see the right way to load and visualize a dataset utilizing Pandas and Matplotlib.
Importing Libraries
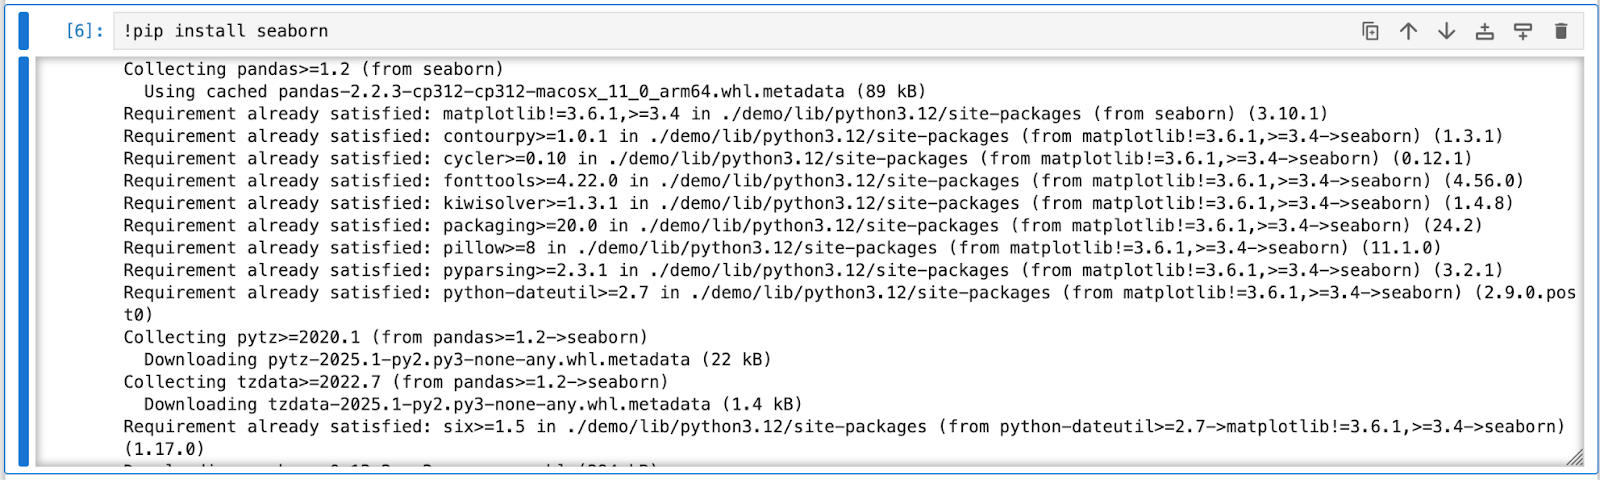
- seaborn: To put in the seaborn python library you’ll be able to write the beneath command in your jupyter pocket book:
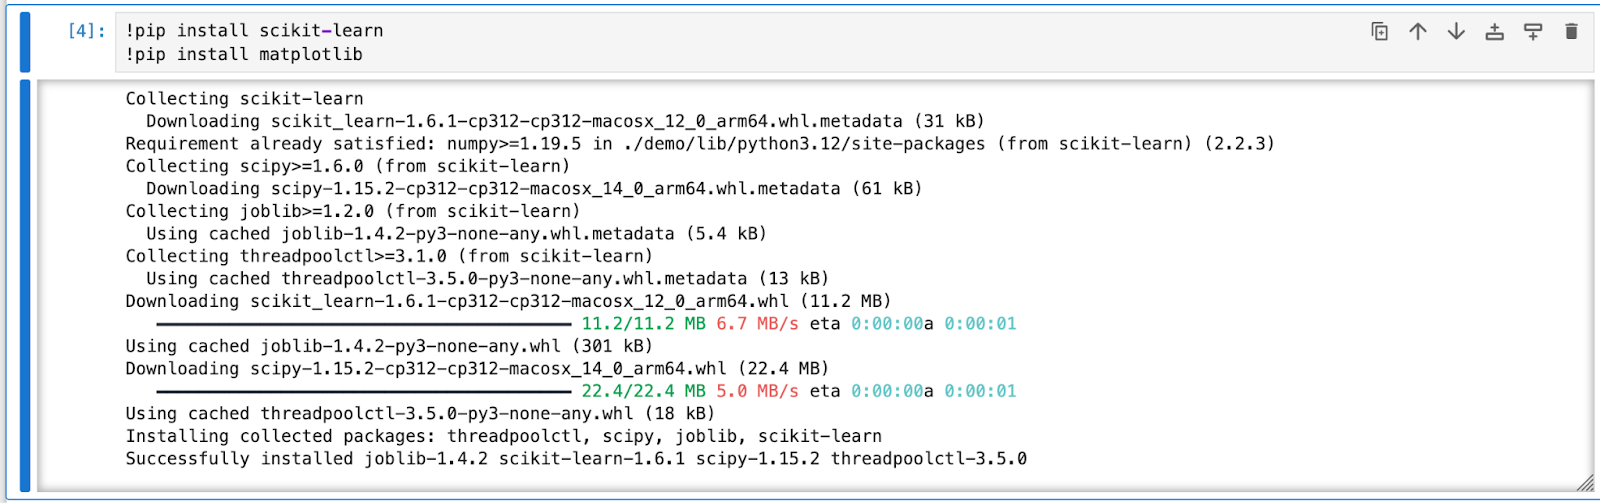
- matplotlib: To put in the matplotlib and scikit-learn python library you’ll be able to write the beneath command in your jupyter pocket book:
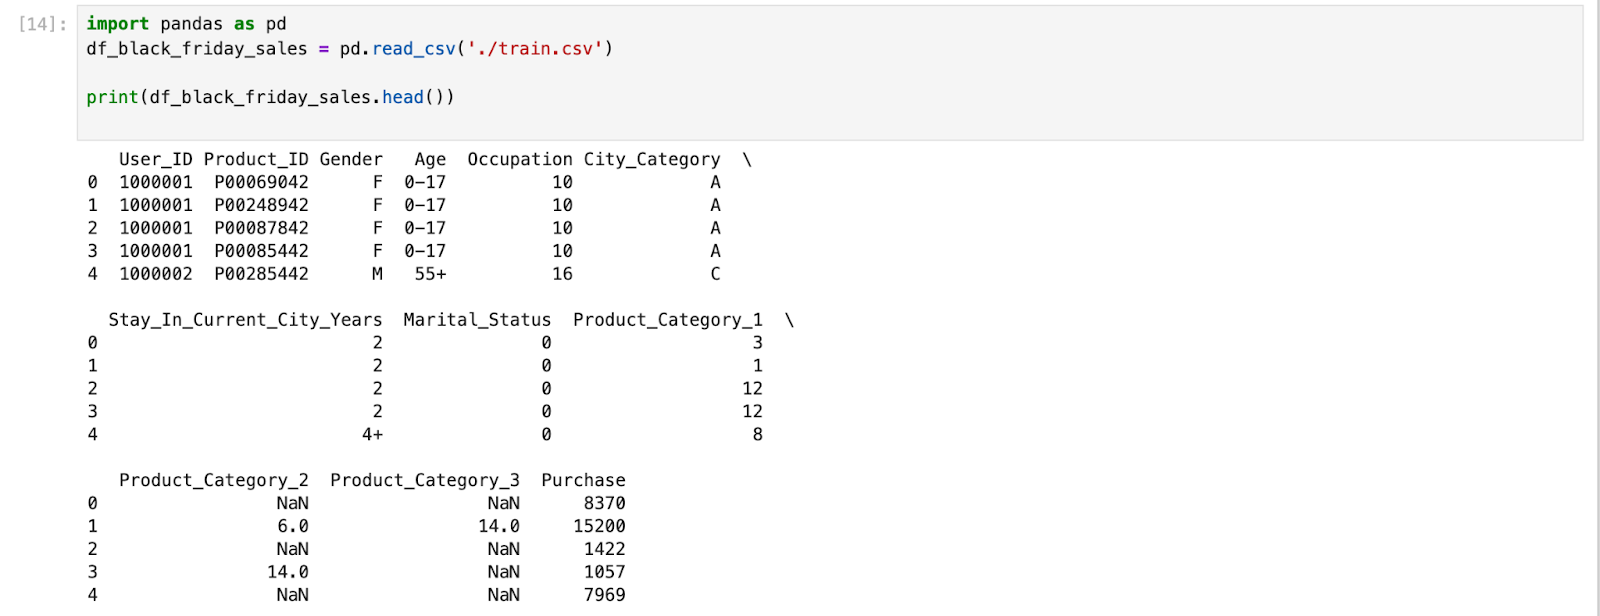
Loading a Dataset
There are lots of methods to import/load a dataset, both you’ll be able to obtain a dataset or you’ll be able to straight import it utilizing Python library comparable to Seaborn, Scikit-learn (sklearn), NLTK, and so on. The datasets that used here’s a Black Friday Gross sales dataset from Kaggle.

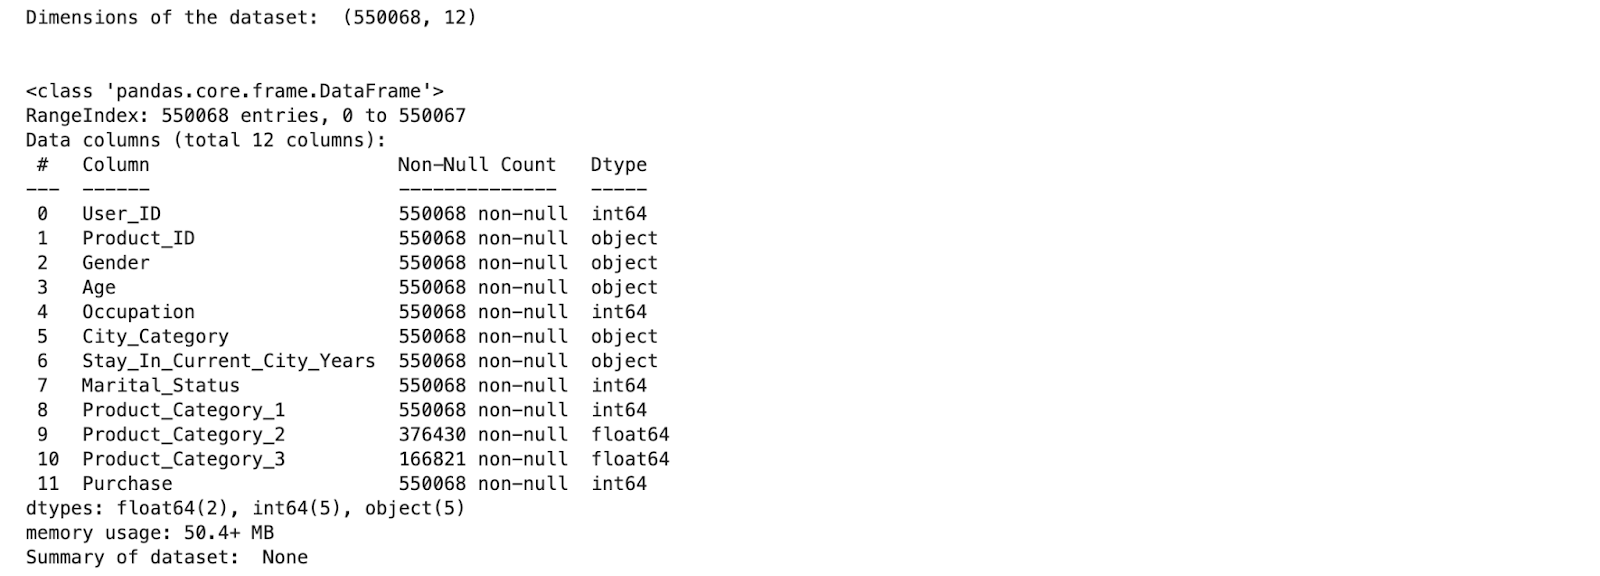
5. Information Evaluation and Visualization
It’s also an vital step because it provides the distribution of the dataset and helps to find similarities amongst options. Let’s begin by wanting on the form of our dataset and concise abstract of our dataset, utilizing the beneath code:

Information Visualization
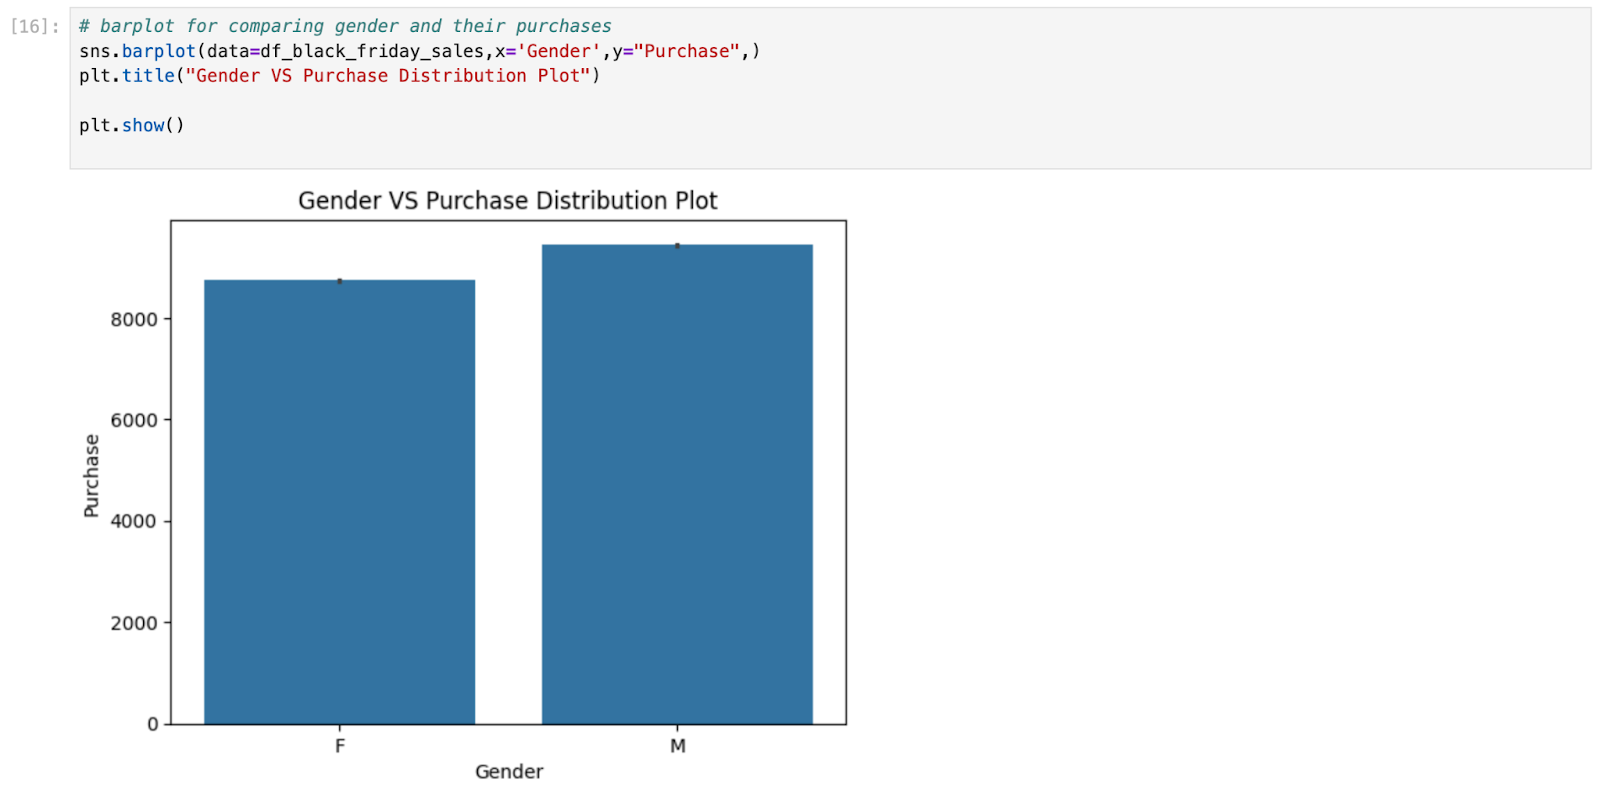
Giant and complicated datasets are very obscure however they are often simply understood with the assistance of graphs. Graphs/Plots can assist in figuring out relationships between totally different entities and helps in evaluating variables/options. Information Visulaisation means presenting the big and complicated knowledge within the type of graphs in order that they’re simply comprehensible. Start by making a bar plot that compares the proportion ratio of ideas given by every gender , together with that make one other graph to check the common ideas given by people of every gender.
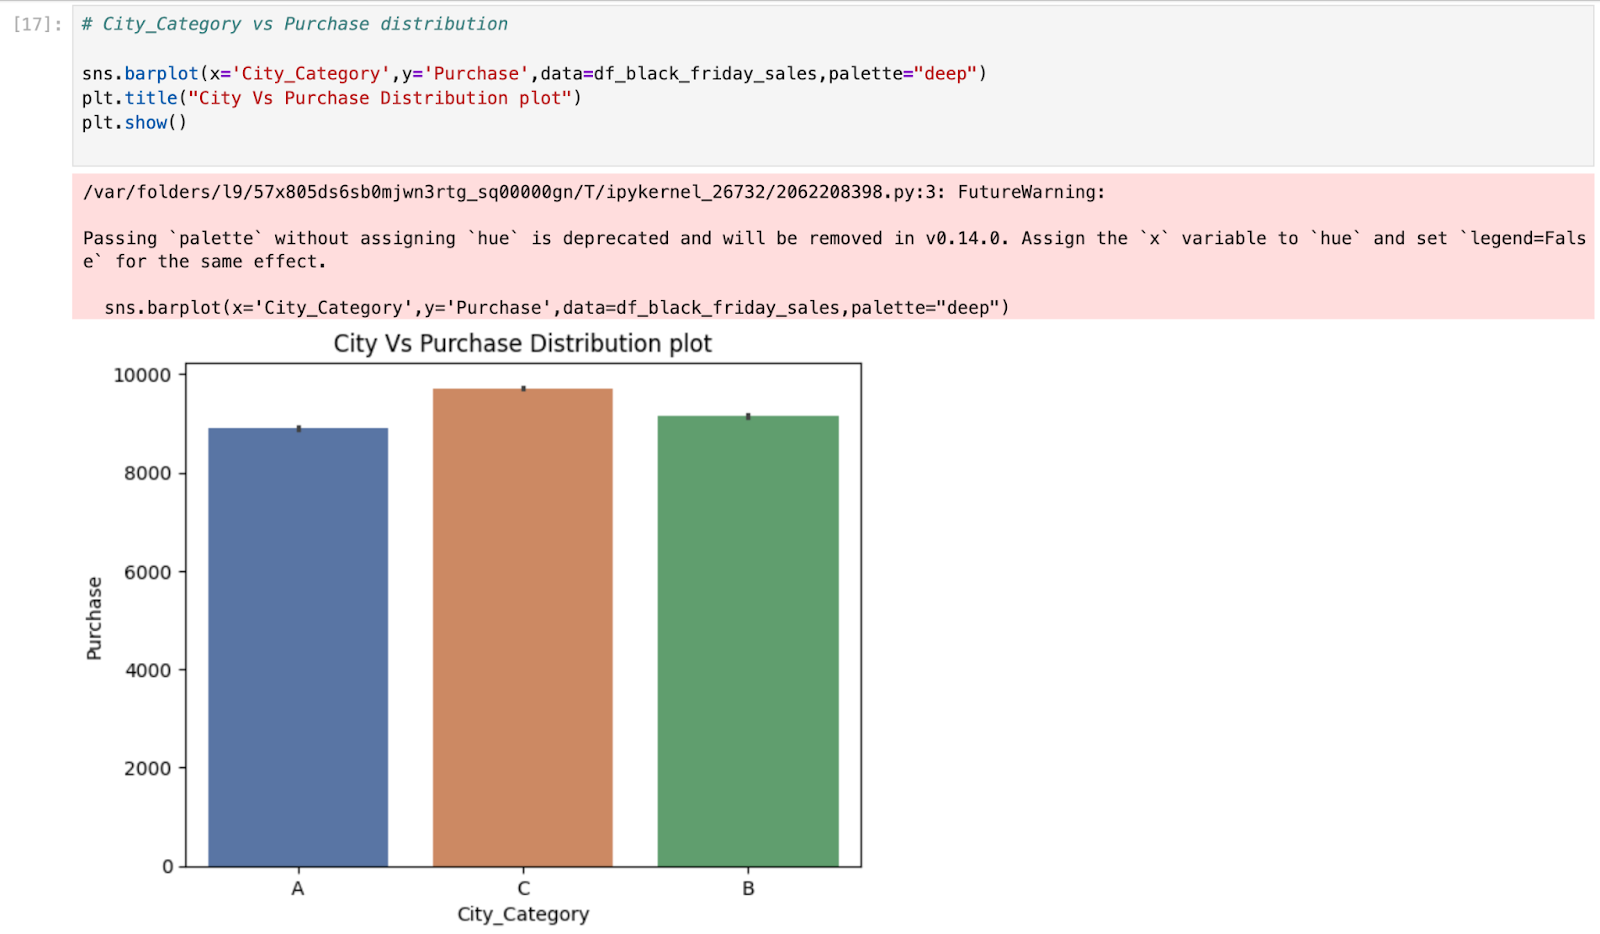
This code creates a bar plot utilizing Seaborn to visualise the distribution of purchases (‘Buy’) throughout totally different metropolis classes (‘City_Category’) within the DataFrame ‘df_black_friday_sales’.
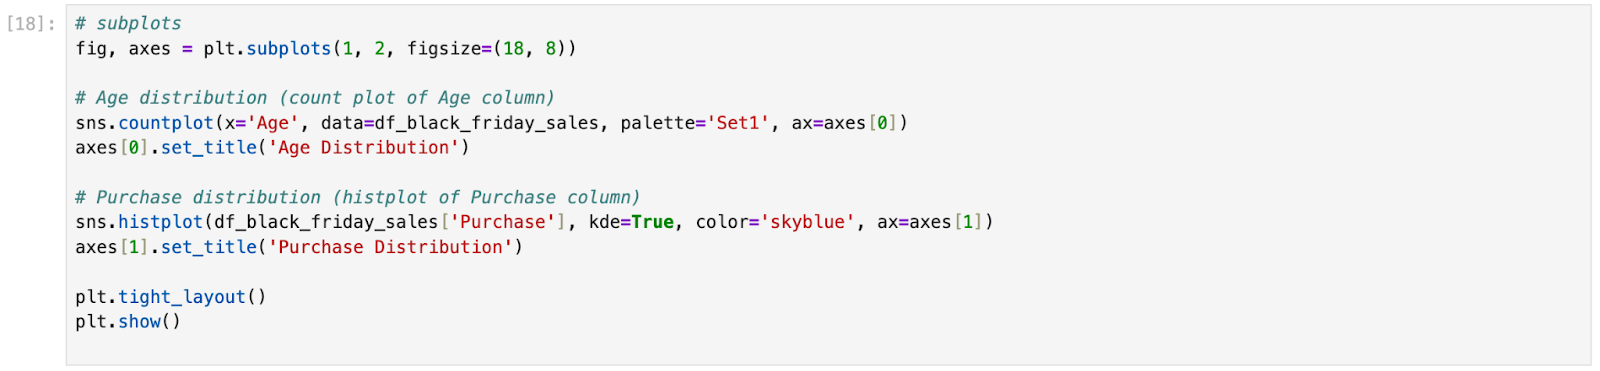
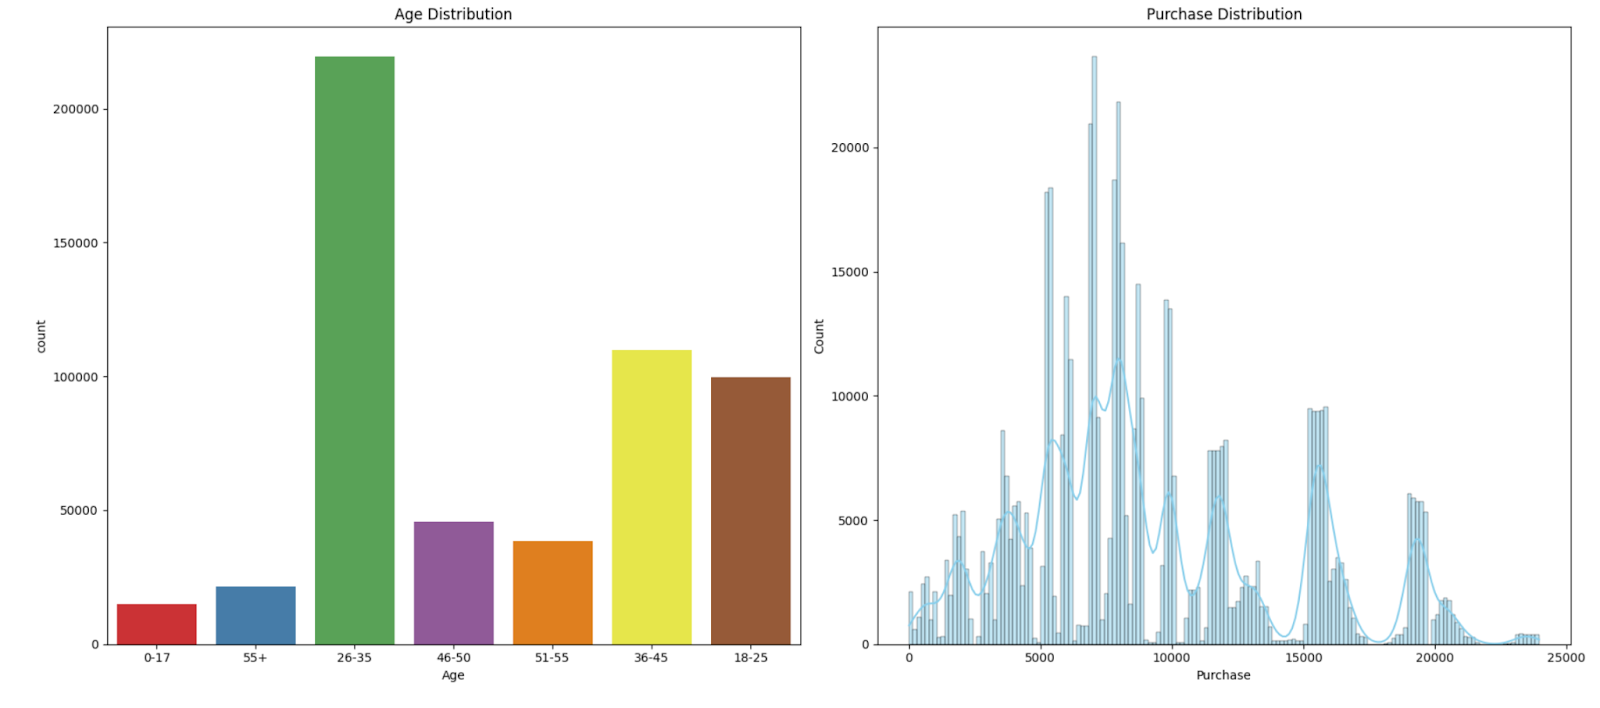
This code creates a determine with two subplots facet by facet. The primary subplot shows a depend plot of the ‘Age’ column from the ‘df_black_friday_sales’ DataFrame, whereas the second subplot exhibits a histogram and kernel density estimate (KDE) of the ‘Buy’ column.
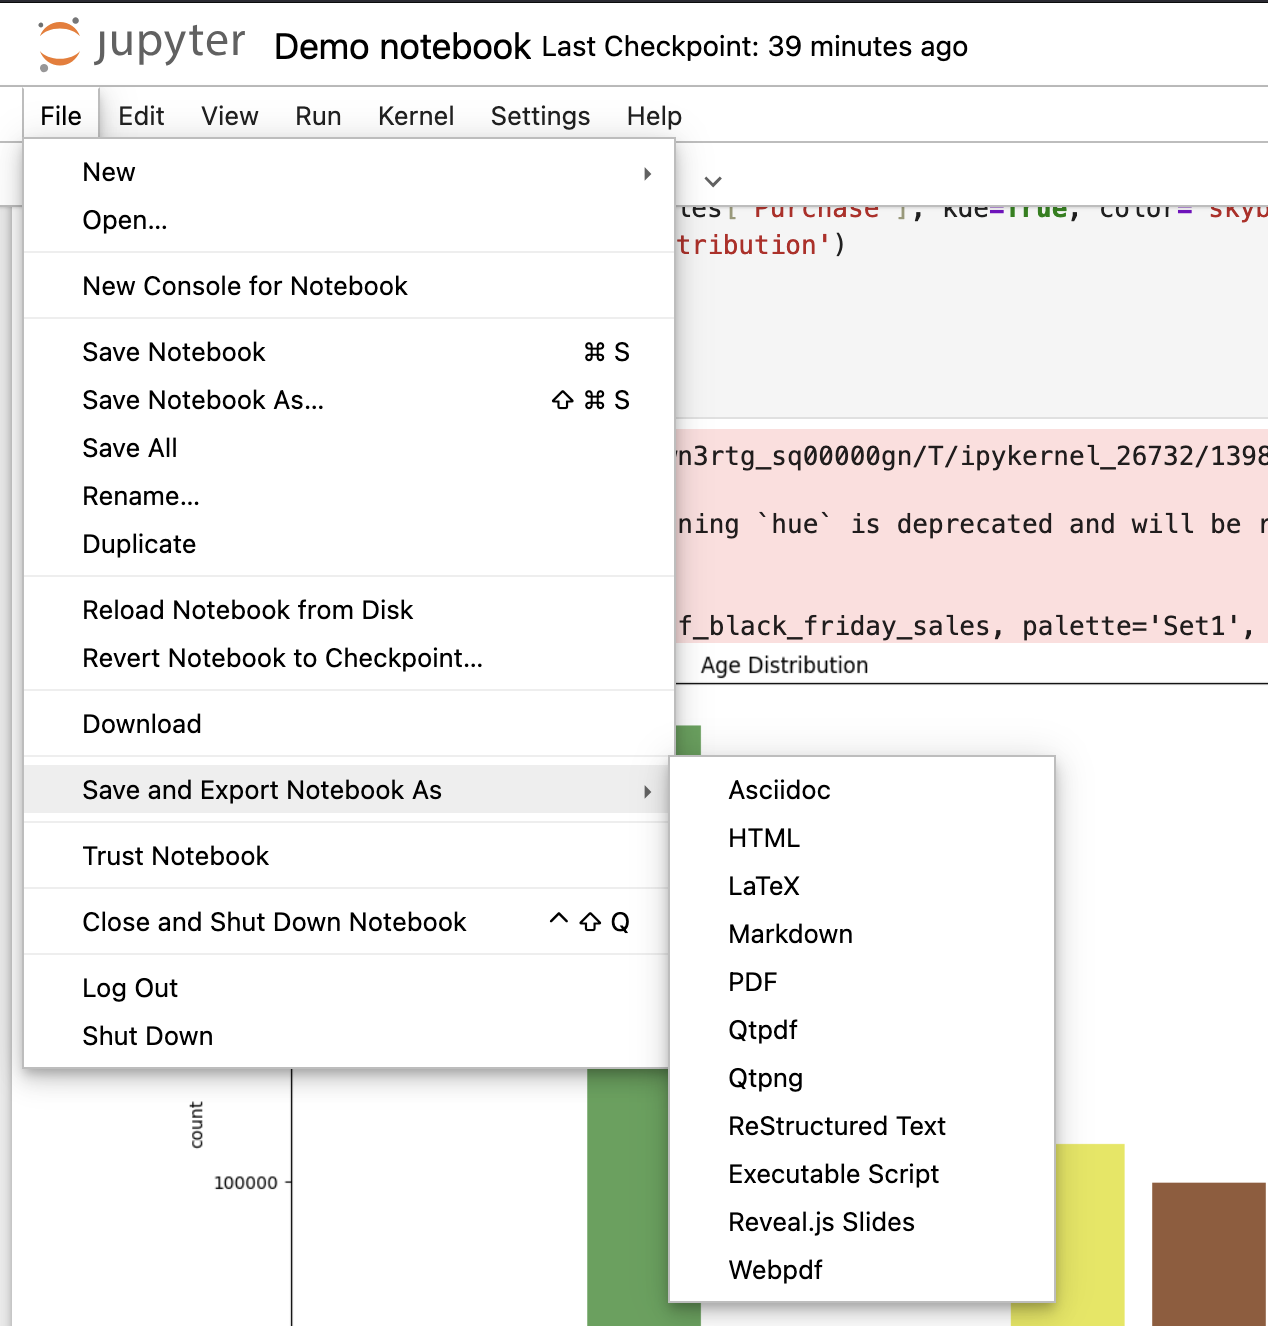
6. Saving and Exporting Notebooks
- Click on File > Save and Export pocket book as to save lots of progress and export notebooks in numerous codecs (PDF, HTML, Python script, and so on.):
7. Greatest Practices
- Use markdown to doc your work.
- Set up your pocket book through the use of headings and sections.
- Use model management (e.g., GitHub) to trace adjustments.
- Restrict output dimension for big datasets.
Conclusion
This tutorial has lined the elemental points of utilizing Jupyter Notebooks for interactive coding and knowledge evaluation. We began with the set up course of utilizing each Anaconda and pip, adopted by navigating the Jupyter interface. We then explored the right way to execute Python code, doc work utilizing Markdown, and carry out knowledge evaluation utilizing Pandas and visualization libraries like Matplotlib, scikit-learn and Seaborn.
By following the most effective practices outlined, you’ll be able to create well-structured, reproducible, and environment friendly notebooks to your coding and knowledge evaluation tasks. Now that you’ve a robust basis, begin experimenting with Jupyter Notebooks and discover its huge capabilities to boost your workflow!
Nikhil is an intern marketing consultant at Marktechpost. He’s pursuing an built-in twin diploma in Supplies on the Indian Institute of Expertise, Kharagpur. Nikhil is an AI/ML fanatic who’s all the time researching purposes in fields like biomaterials and biomedical science. With a robust background in Materials Science, he’s exploring new developments and creating alternatives to contribute.